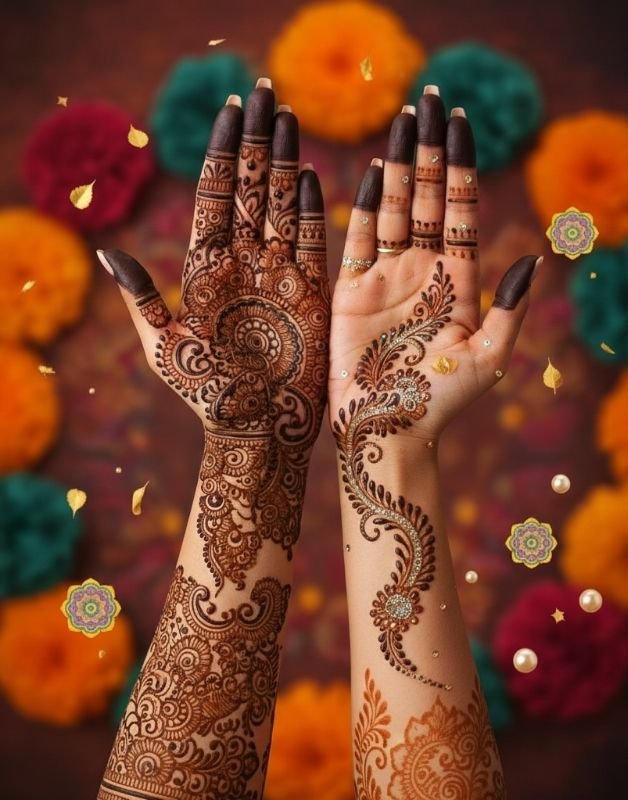
Henna art has been an age-old tradition that celebrates beauty, culture, and creativity. Whether it’s for a festive occasion, wedding, or just for fun, henna has the magical ability to transform your hands into a canvas of art. If you’re new to this, don’t worry — basic henna designs are your perfect starting point. They are simple to draw, look elegant, and require no professional skills to master.
What Makes Basic Henna Designs So Popular?
Henna art, also known as mehndi, has been used for centuries across South Asia, the Middle East, and Africa. Over time, it has evolved from intricate bridal artwork to minimalist, everyday designs that anyone can try.
The beauty of basic henna designs lies in their simplicity. You don’t need to be an expert to create charming motifs — just a little patience and practice. From tiny dots and leafy trails to small mandalas and vines, these designs are beginner-friendly and perfect for any occasion.
The Meaning Behind Henna
Henna isn’t just decoration; it carries deep symbolism. Traditionally, it represents joy, celebration, and spiritual protection. The reddish-brown stain of henna is believed to bring good fortune and ward off negativity.
Each pattern holds a special meaning:
- Flowers symbolize happiness and prosperity.
- Leaves and vines represent growth and vitality.
- Dots and swirls stand for infinity and continuity.
When you choose basic henna designs, you’re not only embracing an art form — you’re connecting with centuries of cultural expression.
Essential Tools You Need
Before starting your henna journey, gather the essentials:
- Henna Cone or Applicator Bottle: Pre-filled cones are best for beginners since they allow for better control.
- Henna Paste: Always use natural henna paste without chemicals for a deep, long-lasting color.
- Tissues & Cotton Swabs: For cleaning smudges and fixing lines.
- Lemon-Sugar Mixture: Applied once the henna starts drying, it helps darken the stain.
Having the right tools ensures your basic henna designs come out neat and professional.
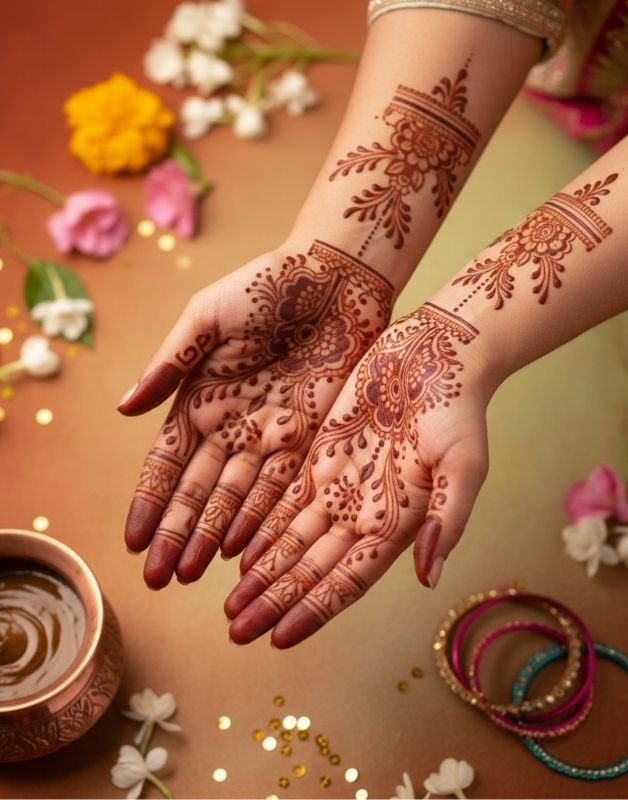
Easy Basic Henna Designs to Try
Let’s explore some of the most loved and easy-to-learn basic henna designs. These patterns are perfect for practice and look effortlessly stylish.
1. Floral Chain Design
One of the most timeless and elegant henna styles is the floral chain. Start with small flowers connected by leafy trails running across the fingers or wrist. It’s simple yet stunning.
Tips:
- Use small circular strokes to form petals.
- Keep spacing even for a clean look.
2. Finger-Tip Doodles
Finger henna designs are trending for their chic, minimalist appeal. You can decorate just the fingertips with dots, lines, and tiny motifs.
Try This:
Create small mandalas on the back of each finger and connect them with delicate vines for a graceful effect.
3. Circular Mandala Pattern
The mandala is a classic in basic henna designs. Its symmetry makes it visually pleasing and easy to practice.
How to Do It:
Start with a small circle in the middle of your palm, then expand outward with petals, dots, and curved lines.
4. Bracelet Style Henna
For those who love jewelry-inspired designs, bracelet henna is ideal. Draw thin bands around your wrist, resembling bangles or chains.
Pro Tip:
Add small floral details or geometric dots for extra flair.
5. Leafy Vines
If you want something soft and feminine, go for leafy vines. These are effortless to draw and perfect for filling gaps in your henna art.
How-To:
Draw a curved line, then add small leaves along one or both sides. Continue until it wraps gracefully around your hand or finger.
6. Minimal Back-Hand Design
A modern trend in basic henna designs is minimalism. A single flower, mandala, or vine placed at the center of the backhand looks chic and classy.
Perfect For:
Everyday wear, Eid celebrations, or casual events.
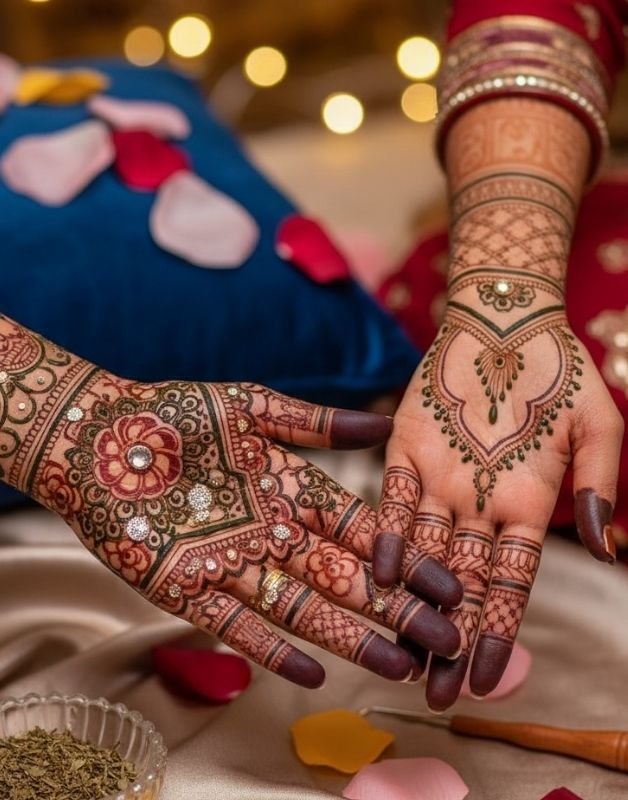
How to Get Dark & Long-Lasting Henna Stains
Creating a design is only half the magic. Getting that rich, deep brown color makes your basic henna designs truly shine. Here’s how you can ensure a long-lasting stain:
- Let It Dry Naturally: Avoid using a fan or dryer. Let the paste stay on your skin for at least 4–6 hours.
- Apply Lemon-Sugar Sealant: Dab it gently on the dried design to keep it moist and enhance color.
- Avoid Water: Don’t wash your hands for 12–24 hours after removing the paste.
- Use Heat: Warm your hands near steam or a fire (carefully) to help darken the stain.
- Apply Natural Oils: After scraping off the dried henna, rub coconut or mustard oil on your hands for protection.
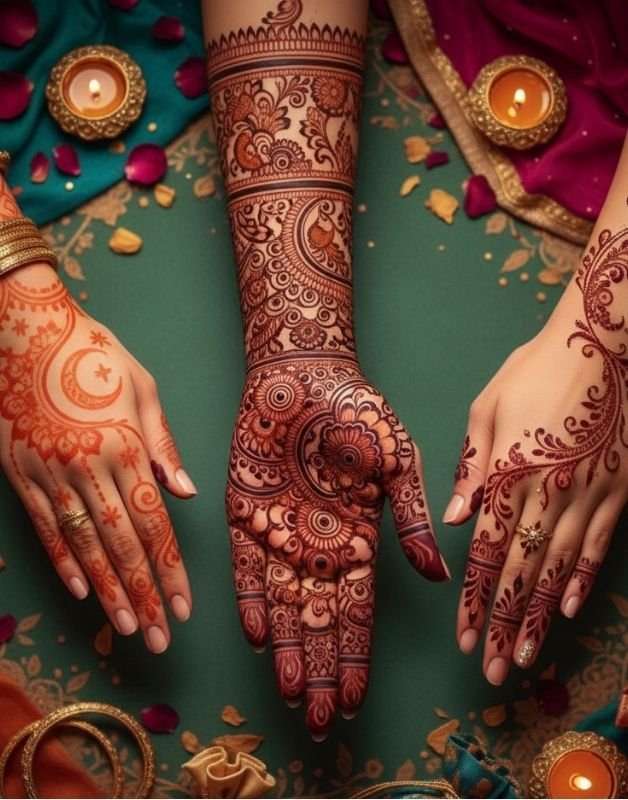
Popular Styles of Basic Henna Designs
Even within simple patterns, you can explore multiple styles inspired by different cultures and aesthetics.
1. Arabic Basic Henna Designs
Arabic henna is bold and flowy, often featuring floral and leafy motifs spread diagonally across the hand.
- Large flowers with open spaces.
- Less dense but elegant.
- Perfect for beginners learning line control.
2. Indian Basic Henna Designs
Indian mehndi patterns are detailed and traditional, often using dots, paisleys, and fine lines.
- Great for practice if you enjoy intricate work.
- Commonly used for festivals and small functions.
3. Moroccan Basic Henna Designs
If you prefer geometric patterns, Moroccan henna is your style.
- Includes squares, triangles, and symmetrical lines.
- Offers a modern and edgy look.
4. Fusion Henna Designs
Fusion styles mix elements from Arabic, Indian, and Moroccan henna.
- Combine floral curves with geometric precision.
- Great for creating your unique signature style.
Tips for Practicing Basic Henna Designs
Learning henna takes practice, but these tips can make the process easier and more fun:
- Start on Paper First: Practice drawing your designs on paper before using the cone on your skin.
- Control Pressure: Gentle pressure gives thin lines; firm pressure gives bold strokes.
- Keep Your Cone Clean: Wipe the tip frequently to prevent clogging.
- Use Reference Images: Copy designs you like to improve muscle memory.
- Be Patient: Mistakes happen — henna is forgiving, and practice leads to perfection.
Maintaining Your Henna Tools
Cleanliness and storage matter. Keep your henna cones in a cool, dry place. If you use homemade henna paste, refrigerate it to maintain freshness. A good-quality paste ensures vibrant results every time you apply your basic henna designs.
Creative Ideas to Personalize Your Designs
Want to make your basic henna more stylish? Try adding creative twists:
- Add initials or small symbols that mean something personal.
- Mix colors using glitter or white henna for contrast.
- Pair it with nail art to create a matching look.
- Try themed designs like floral, boho, or celestial patterns.
When to Try Basic Henna Designs
Basic henna designs are versatile you can wear them for almost any occasion:
- Festivals: Eid, Diwali, or weddings.
- Parties: Birthdays, bridal showers, or picnics.
- Casual Days: For fun, self-expression, or relaxation.
Henna isn’t just for celebrations; it’s a calming, creative hobby that allows you to express yourself.
The Growing Trend of Minimal Henna Art
Minimalistic henna is now a global trend. Social media platforms like Instagram and Pinterest are filled with artists showcasing clean, space-filled designs that highlight elegance and modern aesthetics.
This new wave of basic henna designs embraces:
- Negative spaces
- Tiny motifs
- Simple finger accents
It’s the perfect blend of traditional art and modern style.
Final Thoughts
Whether you’re preparing for a festival or just exploring your creative side, basic henna designs are a beautiful way to start. They are easy to learn, affordable, and deeply satisfying to create. With every swirl and curve, you’ll discover the joy of turning simple lines into art that celebrates culture and individuality.
Keep practicing, stay patient, and soon you’ll find yourself mastering not just basic designs, but also creating your own unique henna masterpieces.