Finger henna designs have become one of the most loved forms of mehndi art in recent years. These delicate patterns focus on the fingers, creating a graceful, modern, and sophisticated look that perfectly blends tradition with style. Whether you’re a bride looking for something unique or someone who loves the beauty of minimal mehndi, finger henna designs are versatile enough for every occasion.
Unlike full-hand mehndi, finger henna designs are quick to apply, easier to maintain, and can still create an eye-catching effect. Their simplicity makes them ideal for casual events, festive gatherings, and even formal celebrations.
Why Finger Henna Designs Are So Popular
Finger henna designs are loved for their simplicity and elegance. They bring attention to your fingers and nails, making your hands look graceful without being overly decorated. Here are a few reasons behind their growing popularity:
- Minimal yet stylish: These designs add beauty without covering the entire hand.
- Time-saving: Perfect for those who want a quick mehndi look.
- Versatile: You can combine them with nail art, rings, or accessories.
- Modern appeal: Finger henna fits perfectly with today’s minimalist aesthetic.
- Customizable: From bold Arabic patterns to dainty lines, they suit all tastes.
With so many variations, finger henna designs are not just for brides—they’re for anyone who loves beautiful hands.
Understanding the Basics of Finger Henna Art
Before exploring different patterns, it helps to understand what makes finger henna special.
1. The Origin of Henna
Henna has been used for thousands of years as a symbol of joy, luck, and beauty. Traditionally, it’s applied during weddings and festivals, but modern henna art has evolved to fit daily fashion trends as well. Finger henna designs are a more refined version of traditional mehndi, focusing on the fingertips and knuckles instead of covering the whole hand.
2. The Role of the Fingers in Henna Art
Fingers are a natural focal point—they move, gesture, and express. When decorated with henna, they highlight jewelry, manicures, and even gestures in photographs. Because the fingers are slim and curved, artists design fine, flowing motifs that complement their shape.
Popular Styles of Finger Henna Designs
Finger henna designs come in countless styles, from ultra-simple to luxurious. Here are some of the most loved variations:
1. Minimalist Finger Henna Designs
Minimalist designs are perfect for everyday wear or small celebrations. They usually consist of:
- Small dots and lines along the fingers.
- Tiny leaf patterns or minimal floral motifs.
- Simple ring-style bands around the knuckles.
This style is elegant, subtle, and ideal for people who prefer modern, understated beauty.
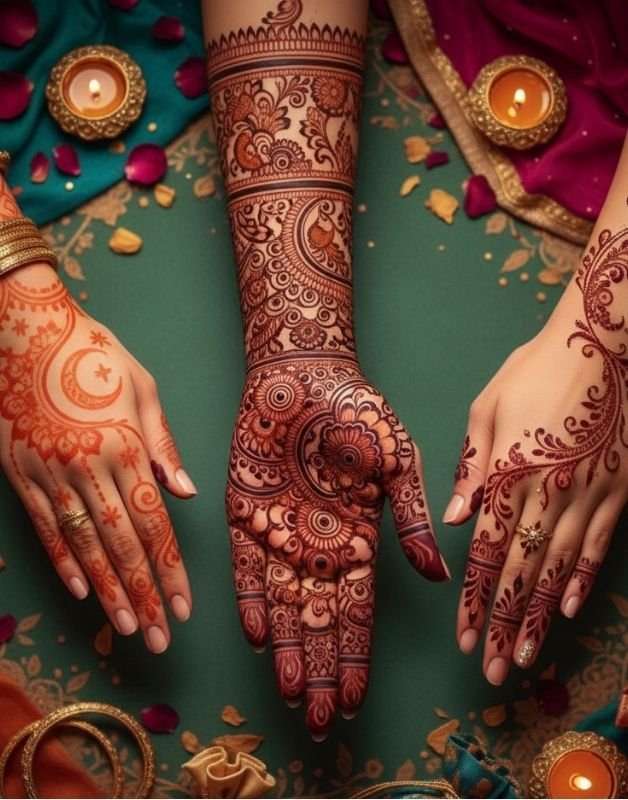
2. Arabic Finger Henna Designs
Arabic patterns are bold and eye-catching, featuring flowing vines, petals, and thick outlines. These designs often start from the fingertip and extend slightly toward the hand. The dark, defined strokes create a dramatic contrast that looks beautiful for weddings and festive occasions.
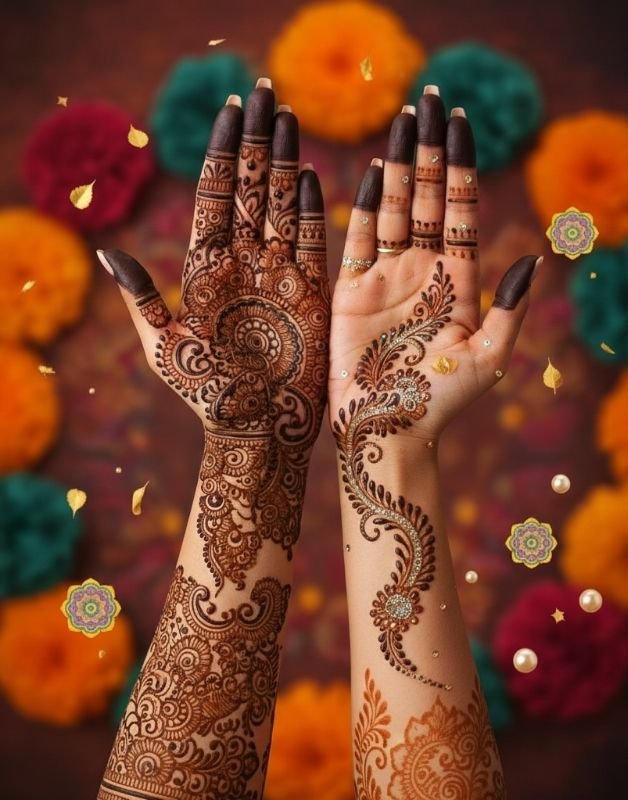
3. Floral Finger Henna Designs
Floral motifs symbolize beauty and nature. A small flower on each fingertip or a vine of petals running along the finger looks timeless and feminine. These are among the most requested finger henna designs for bridesmaids and festivals like Eid or Diwali.
4. Geometric & Line Art Designs
Modern henna lovers are drawn to geometric and line-based designs. Think of neat lines, triangles, squares, or dotted grids that create a minimal but artistic effect. These designs look stunning with western outfits too.
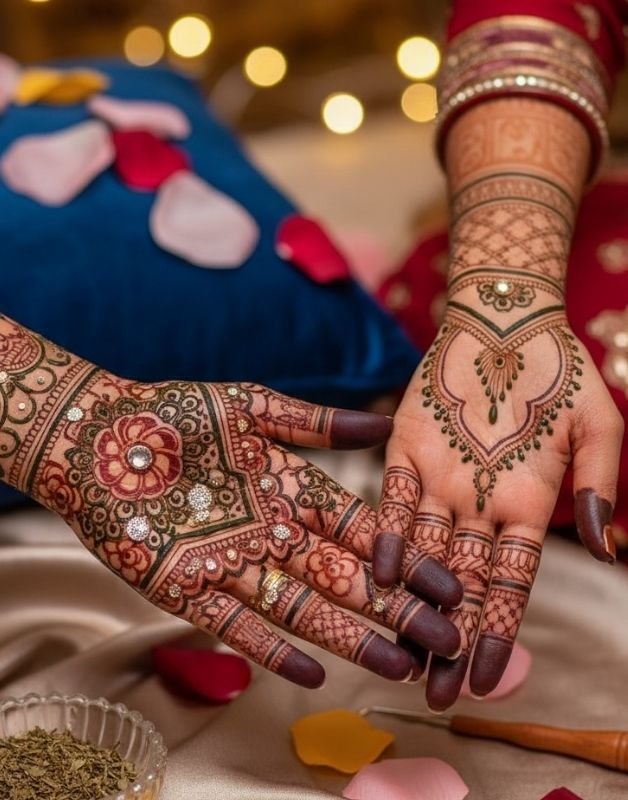
5. Ring-Style Finger Henna Designs
Inspired by jewelry, ring-style henna wraps around the finger like a real ring. Some versions even include chains or small dots connecting one finger to another, resembling a hand ornament. They’re perfect for engagement photos or brides who want something delicate yet detailed.
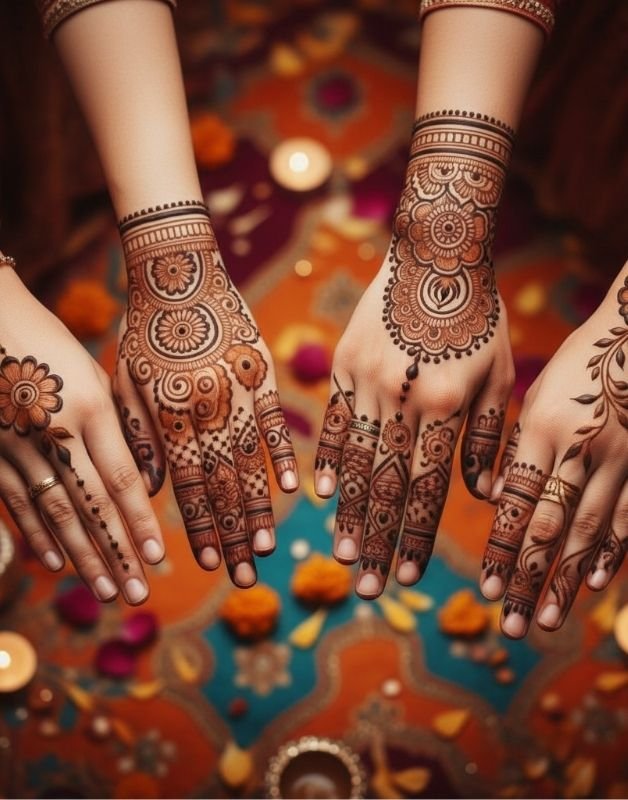
6. Full Finger Coverage Designs
This is the most traditional and dramatic version, where the henna covers the entire finger from tip to base. It often includes intricate vines, net patterns, or floral trails that merge into the hand design. Full finger henna designs are most popular among brides.
Step-by-Step Guide to Applying Finger Henna Designs
Creating your own finger henna designs can be fun and therapeutic. Here’s a simple step-by-step guide:
Step 1: Prepare Your Hands
Wash your hands with soap and water to remove oils or lotions. Clean, dry skin helps the henna stain darker and last longer.
Step 2: Prepare the Henna Cone
Use a freshly made or high-quality henna cone. The paste should be smooth, not too thick or watery. If you’re a beginner, choose a cone with a fine tip for better control.
Step 3: Choose a Design
Pick your favorite finger henna design style—minimal, floral, or geometric. Beginners can start with dots and lines before moving to more complex patterns.
Step 4: Start from the Fingertip
Begin applying henna at the fingertip, working downward toward the knuckle. Keep your hand steady to create clean lines.
Step 5: Let It Dry Naturally
Allow the paste to dry completely before moving your fingers. Avoid using a hair dryer—it can cause cracks.
Step 6: Seal and Protect
Once dry, dab a mixture of lemon juice and sugar to keep it moist and darken the color. Let it stay on for a few hours before gently scraping it off.
Tips for Dark and Long-Lasting Finger Henna Designs
- Leave the paste longer: The longer henna stays on, the deeper the color.
- Avoid water for 6–8 hours: Keep your hands dry for best results.
- Use natural oils: Apply coconut or olive oil before washing your hands to seal the stain.
- Stay warm: Warmth helps henna oxidize faster, deepening the shade.
- Avoid exfoliating: Scrubbing or washing too often will fade the design quickly.
With proper aftercare, finger henna designs can last up to two weeks.
Top Trends in Finger Henna Designs for 2025
Henna art evolves constantly, and finger henna designs are no exception. Here are the hottest trends to look out for this year:
1. Negative Space Patterns
Leaving parts of the skin bare creates a striking contrast. Designs with empty spaces between patterns are becoming a favorite for modern brides and influencers.
2. Tiny Tattoos & Symbols
Mini motifs like hearts, stars, moons, and initials on the fingers are stylish, subtle, and ideal for everyday wear.
3. Side Finger Henna Designs
Applying henna along the sides of the fingers instead of the top adds an unexpected twist. These designs look unique and photograph beautifully.
4. Metallic and Glitter Henna
For special events, metallic or glitter-infused henna adds glamour and sparkle to your look. It’s not traditional but perfect for parties and photo shoots.
5. Single Finger Focus
Instead of covering all fingers, highlight just one finger—usually the ring finger. This creates a chic statement and pairs perfectly with engagement rings.
6. Fusion Designs
Combining Arabic, Indian, and Moroccan elements results in breathtaking hybrid styles. You can mix bold outlines with fine detailing for a rich, artistic effect.
Matching Finger Henna Designs with Your Look
For Everyday Wear
Choose simple finger henna designs with dots or single-line rings. They’re easy to apply and complement casual outfits beautifully.
For Festive Celebrations
Add floral or Arabic-inspired finger motifs that match your outfit’s embroidery or jewelry.
For Weddings or Engagements
Opt for full finger coverage with detailed patterns and ring-style chains connecting the fingers. These designs look luxurious in bridal photography.
For Modern Occasions
Geometric or negative-space designs go well with western dresses and contemporary accessories.
Aftercare & Maintenance
To keep your finger henna designs fresh and beautiful:
- Avoid contact with water for the first 12 hours.
- Moisturize gently using natural oils (not lotions).
- Don’t rub or scratch the area.
- If you need to remove henna quickly, gently exfoliate with sugar and lemon.
Henna naturally fades in 10–14 days, turning from deep brown to orange tones before disappearing completely.
Creative Ways to Personalize Finger Henna Designs
If you love creativity, try adding personal touches to your finger henna designs:
- Incorporate your initials or your partner’s name in tiny letters.
- Add tiny hearts, stars, or symbols that reflect your personality.
- Match the henna shade to your outfit by using glitter or white henna accents.
- Combine finger henna with nail art for a complete hand makeover.
These details make your design one-of-a-kind and meaningful.
Common Mistakes to Avoid
- Applying henna on oily or wet skin—it prevents proper staining.
- Moving fingers too soon after application—it smudges easily.
- Washing hands right after removal—it lightens the color.
- Using poor-quality cones—it affects texture and longevity.
- Skipping aftercare—moisture is key for a deep, rich color.
By avoiding these mistakes, your finger henna designs will turn out sharp, beautiful, and long-lasting.
Final Thoughts
Finger henna designs are a timeless expression of art and beauty. Whether you prefer a simple dotted look or a bold bridal pattern, these designs add grace and charm to your hands. The best part? You can experiment endlessly—mixing traditional motifs with modern twists to create something uniquely yours.
Perfect for weddings, parties, festivals, or everyday wear, finger henna designs continue to captivate mehndi lovers around the world. With the right care, creativity, and confidence, your fingertips can become miniature canvases of art that tell your story—one elegant swirl at a time.
Pingback: Elegant Front Hand Simple Mehndi Design Ideas 2025
Pingback: Beautiful Designer Mehndi Designs for Hands 2025
Pingback: Stunning Henna Black Henna Designs 2025
Pingback: Beautiful Mehendi Easy Design Ideas for Every Occasion